https://www.youtube.com/watch?v=bBoa8TAy65s
How to Draw Babies, Teens, & Adults [FEMALE]
Hey there everybody .
It's Mark Riley .
I'm back with another how to draw video .
Uh People have been requesting this one for quite some time .
It's how to draw the same character at three different ages uh as a baby , as a teen and as a grown up .
And uh just to give you a little heads up later on in the video , I'm gonna be telling you about a chance that you will have to uh visit a new website .
It's called the Life Reimagined Project .
You will be among the first people in the world to get a look at this thing .
Uh But more on that later , let's go ahead and zoom in here and I'm gonna show you how to draw the face of a baby right now .
I'm gonna be covering a huge amount of stuff in this video and that's why I've given myself a little bit of a head start .
But I think you can see how I got to this .
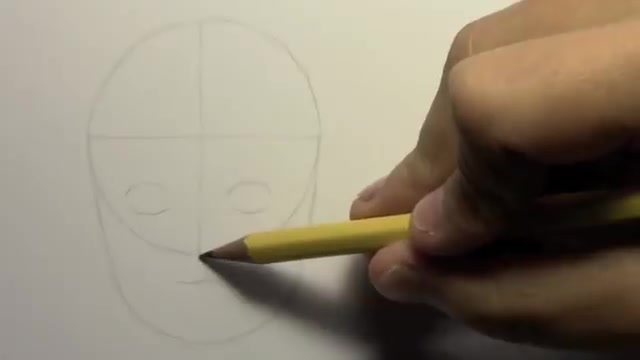
Uh This is a circle .
Uh You could trace around a cup or something , you know , don't get too hung up on , you know , I can't draw a perfect circle .
Uh go ahead and use something to help you if you need that .
And then I have crossed , I've done two lines here right across the middle of the circle .
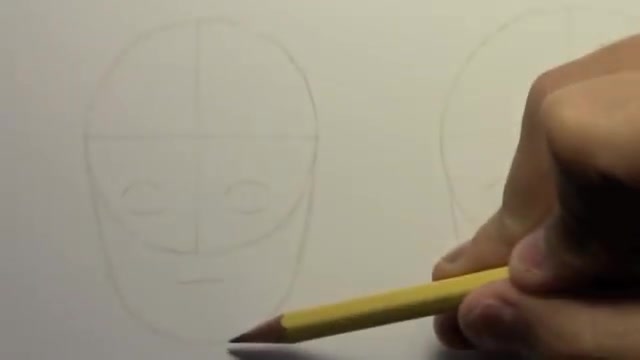
Um as guidelines to kind of help me place other facial features , uh a little tip here to get the shape here and the uh the size of the lower part of the face uh right .
Take a look at the distance between the bottom of the circle and just around here , uh up the forehead , that distance uh is pretty much replicated down here , maybe a little less than that .
Uh So there's a little tip for that .
And uh I'm gonna go ahead and start uh getting the placement of the facial features , you know , every baby's face is gonna be different , but it's the placement of the features uh that uh is fairly uniform from one face to the other .
So notice uh these two lines here for where I'm gonna be placing the eyes , uh where they uh fit into the circle , the distance they are from one another , you can see that they are considerably closer to the bottom of the circle than they are to the top .
Uh There's a certain distance there between the sides and um this distance between them , you have to focus on that as well .
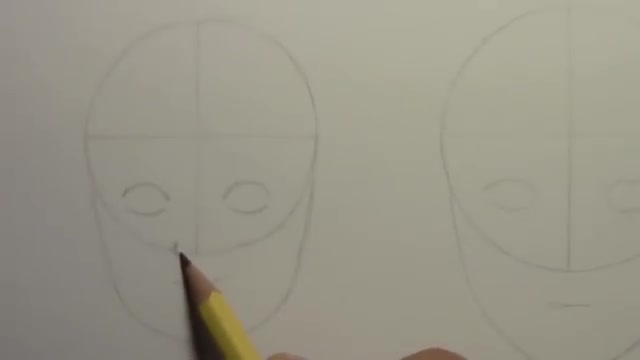
Uh And then you can use the bottom of the circle as the perfect resting spot of the nose .
Um Again , I could spend like a whole video just talking on how to draw the individual lines of the nose .
But uh just as a pointer , keep in mind that when you're drawing a baby's nose , the bridge of the nose up here is almost not drawn at all .
Uh It's uh that's only happens as the person gets older that we start to um draw those lines in more clearly .
Uh notice the line for the mouth that I put in here , the distance that it is much closer to the nose than to the chin .
Um And as I looked at photographs of babies' mouths , I noticed that actually a baby's mouth uh seems to have a different shape uh from a grownup's mouth .
It's kind of , I think that baby fat is sort of pushing in on the lips and causing the mouth to pucker a little bit .
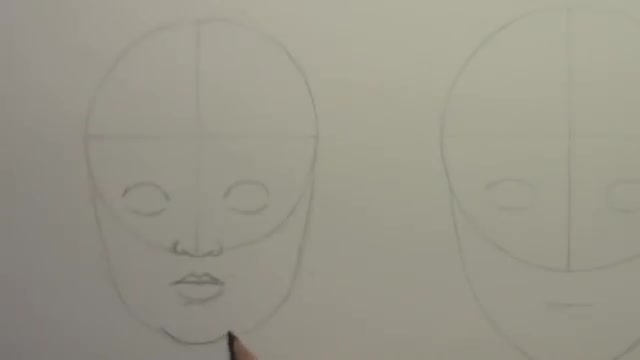
Um And so you end up with this sort of larger uh lower lip and uh sort of pushed in smaller upper lip .
And um you know , again , just looking at photographs of babies , uh you that'll help you as in guidance of uh drawing a baby's mouth .
But there can be a second line down here uh just below the lower lip .
Um One important thing here is to get the suggestion of a double chin .
Um we all know about , you know , baby fat and of course , that uh it creates this shape down here , sort of a , the shape of a letter u almost that kind of stuff is very important .
You don't want your uh drawing of a baby to just look like a miniature adult .
You know , you really have to get uh the shape of the head .
Uh right .
And uh I'm gonna go ahead and drop in the eyebrows notice that they are much closer to the eyes than they are to this uh line that we drew at the beginning .
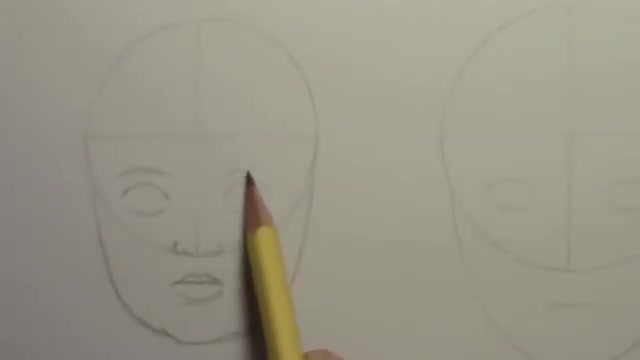
And uh also uh something to keep in mind is that the um eyebrows of a baby are tend to be very light , you know , the , they only thicken up later in life .
And so you don't want to get too carried away with drawing dark lines when you do the eyebrows of a baby .
Um And uh uh a as for doing the irises themselves , uh I'm gonna just uh do a light indication of them for now , like I said , there's gonna be a lot of uh time lapse in this video and that's when I'm gonna get into doing the details .
But in a way , I think it's best for you to um think of this as an overview video and uh uh not think , oh , this is the way to draw a baby all the time .
Oh , no , of course not .
Every baby is gonna , gonna look different .
So um it's probably best that I don't get too hung up on the details anyway , but let's go ahead and do the ears notice that they start , uh , near the top of the eyes , they come down to around where the nose is , uh , as a guideline .
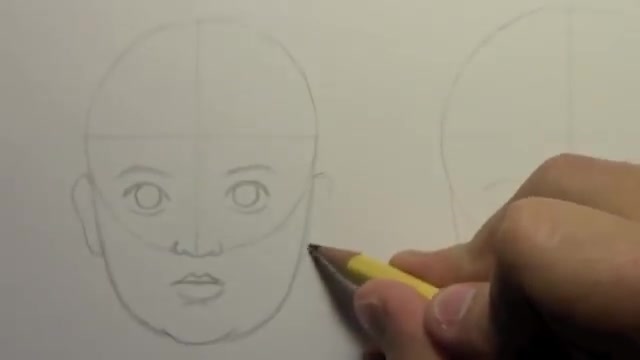
And I think after I've got that in place , the last thing that I want to do is show you where the hairline goes .
It's basically , uh , between these two points here , just draw a line there and that's gonna show you where the hairline , you know , begins at the top of the forehead .
And beyond that , I think I probably should just go ahead and kick this into time lapse to uh finish it off and , uh , but I will come back to give you some final pointers once I uh complete the illustration .
All right .
So just gonna add a few little final touches here .
Um I , I wanted to say a word about the shading .
Notice how I put quite a lot of shading right in here .
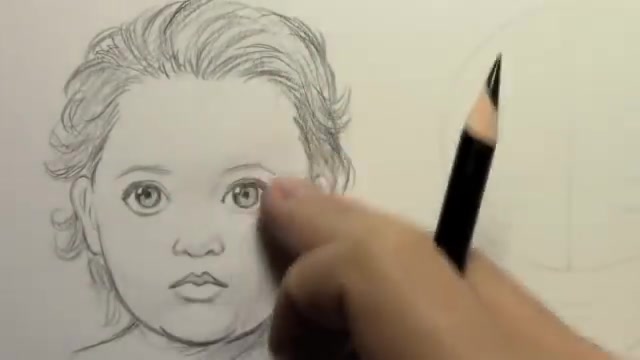
Uh a a around the forehead area and down where normally the bridge of the nose would go .
I think that's something fairly unique to babies that the , the , this roundness to the forehead .
And as I said , the , the bridge of the nose is uh almost non-existent or , you know , very minimal .
Uh And then also a lot of shading down here by the cheeks will help , uh give that sort of baby face , baby fat kind of look .
Um But let's go ahead and move on to the next uh drawing the , the teenage drawing uh of the face and uh see what changes uh as we do that .
OK .
So again , I've given myself a little head start here .
We have that same circle with the two lines .
Um uh Notice the shape of the face is a lot leaner .
Now , we're not gonna have that sort of u shape that we had before , but the mouth , it's fairly consistent .
I find uh always a little closer to the bottom of the circle than it is to the chin .
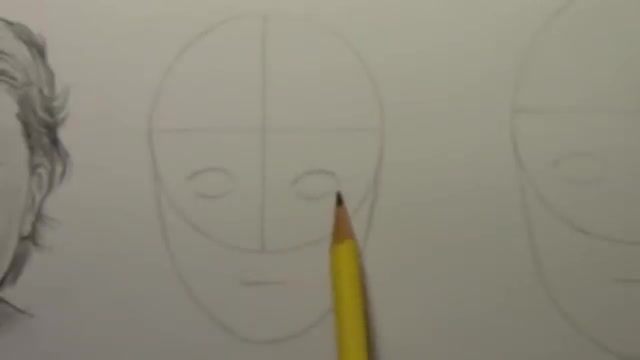
And again , you're gonna have to pay real close attention to the eyes , to the size and to their placement .
They are taking up considerably less uh uh space uh in terms of uh the inside of that circle than they used to .
And of course , as we move to the adult , uh they grow even smaller .
So basic as a basic rule of thumb , the uh larger the eyes , the more the character looks like a baby or a child , the , the smaller they are in proportion to the head , uh the more grown up they look .
So anyway , uh I'm gonna go ahead and start adding a little more uh detail here to the eyes .
One thing that uh I find is the baby with the baby's face .
You don't see so much of the upper eyelid uh as the uh uh person grows older , then you get this second line above each eye uh to indicate the folding of the eye lid uh , notice what happens to the eye brows this time .
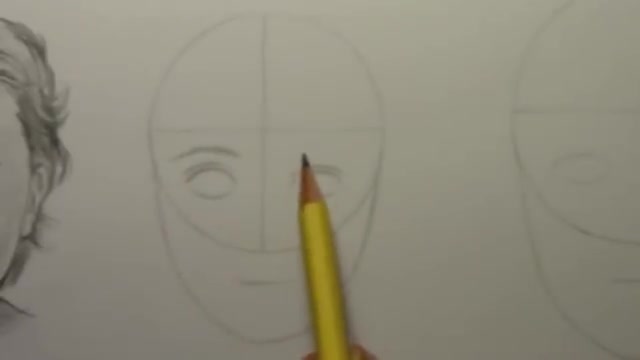
They , uh , are maybe a little more of a distance away from the eyes , a little closer to that , uh , middle line there , that sort of horizontal line that we had .
And you're always paying real close attention to the distance between the eye , the width of the eyebrows .
You don't want them too wide , not too narrow .
Uh , and , uh , as I always have to say , you know , every face is different , so everyone has different , uh shaped eyebrows and so forth .
You uh can study photographs to figure out the style that you want to use for your character .
Um , uh notice again , the nose will neatly fall at the bottom of this uh circle , but this time , we can start to give it a little more definition , especially in the area of the um , bridge of the nose , which , uh as I said before , for the baby , you really don't see the bridge of the nose at all for the teen character or this might even end up looking a little more like a preteen uh character .
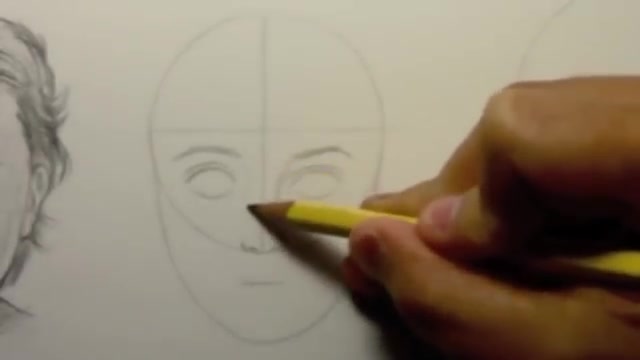
Um You start to get a little bit of shading in here , uh for revealing the bridge of the nose , but you don't go crazy with that .
You can hold off on the really defining the nose for when you draw , uh this character as an adult .
Um I talked quite a bit about the baby's lips and the shape uh I noticed um uh from a baby to a teenager , the shape of the lips changes quite a bit .
Uh It gets a little more relaxed looking , it doesn't have that scrunched up , uh look and I really wish I could go into a sort of a line by line uh for everything here .
But uh if you want to just shout out in the comments , section , comments , uh section , the things that you would like me to go into more detail um in a future video , like I could do one just on the mouth alone .
Uh All this different stuff , we could sort of break into its individual components , but just a quick word about the nose again .
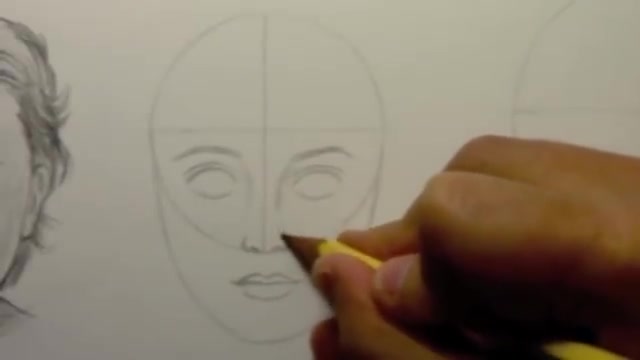
Um Even uh when as the person gets older , you are trying to draw the nose with as few lines as possible , I think if you start uh delineating every single last line of the nose , uh It , the more , I don't know , the more lines you put in there , the uglier it looks , I find uh in the , in the art of it , it seems to me is sort of suggesting the nose without drawing uh each and every line or trying to define it too much .
Uh Notice we had the baby fat issue last time this time .
Uh We definitely do not want to have that um for making this look like a teenager .
Um the , the chin , it becomes part of the exact same line of the rest of the jaw .
And uh so that's one thing and interestingly when we go to the grown up version , we may see that sort of reverse a little bit .
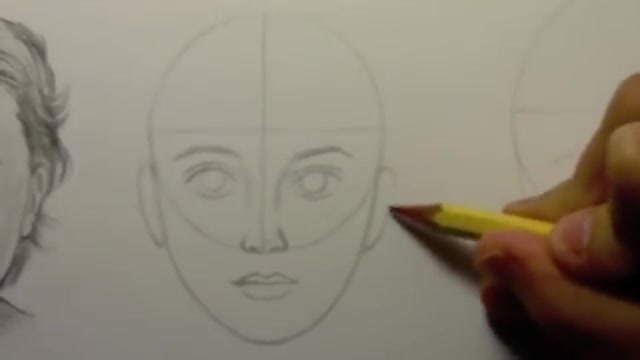
So , but uh I'm gonna go ahead and do the ears , the indication of the ears uh on the side here , um pretty , pretty uh consistent from one face to the other starts at the top of the eyes comes down to around uh , the nose and , uh , the hairline as well , fairly consistent between these two , spots , maybe a touch closer to the center , uh , horizontal line this time , uh , for putting in the hair and I'm doing my best to make this look like it's the same character .
So you're gonna see as I go into time lapse here that I try to make the hair style .
Does , does anyone's hair stay exactly the same from baby from when they're a baby to when they're a grown up ?
I don't know .
Uh , we're gonna find out , but I'm gonna try to draw this character a as if she has the exact same hairstyle , but let's go ahead and kick it in the time lapse .
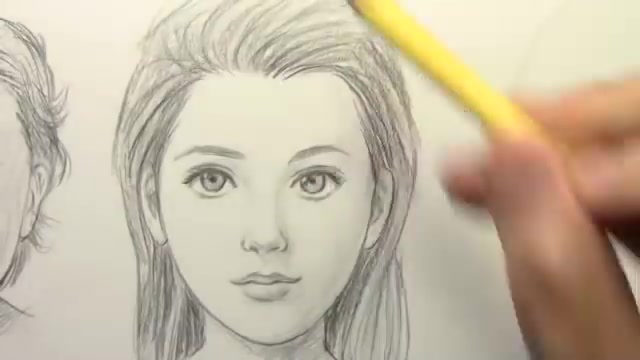
All right .
So there you have it , uh , blew through a lot of stuff there .
Sorry about that .
But , uh , I do want to try to cover , uh , all three different faces in this video and that's why , uh , so much of it is gonna have to be done in time lapse but just quickly to say , um , you'll notice that , uh , as I said before the nose is getting more delineated here , you have a little bit of a suggestion of the bridge of the nose .
Um , the eyes , I fear I got the eyes off a little and my apologies there .
If one of these eyes is slightly lower than the other , um , too late .
Now it's in the video .
Oh , well , anyway , um , we're gonna move on to the last part of the video , I'm gonna draw the uh adult uh version of the same character and you'll see which uh lines are most key in adding a bit of age and uh sort of changing the proportions of the face .
Ok .
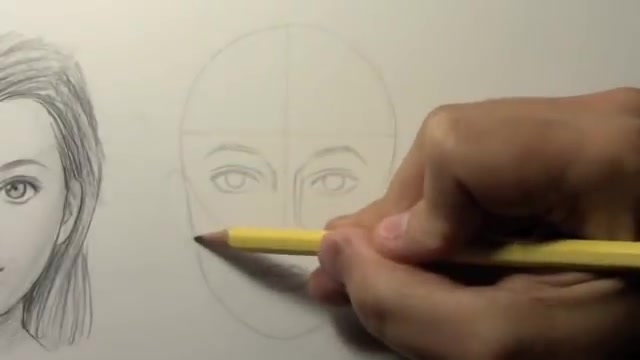
So we're back again with the sort of pre drawn lines of the circle with the two lines .
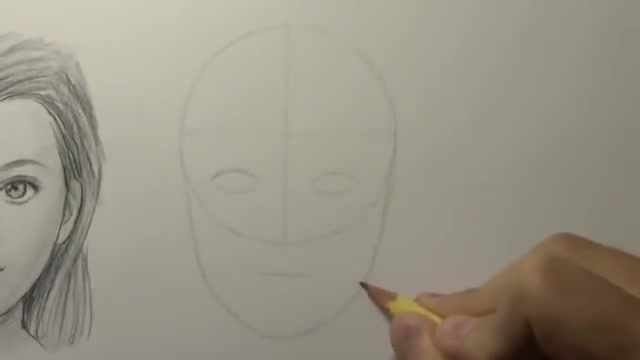
Uh We've got the shape of the jaw here and notice if you compare it to the teenage uh shape that uh we , we've added a little weight , I guess to her jaw and it's coming down maybe forming a little more of an angle uh at this age .
And um if you go back and study the placement of the eyes from the other two , these eyes are smaller in proportion to the rest of the circle and uh it seems to me that they are a little closer to that uh uh middle line there uh compared to the other two .
And uh let's go ahead and start adding some definition to things here .
Um I'll start with the eyes , as I said , they seem to be sort of uh and this may be just artists shorthand .
Uh The eyes are a little more like half closed .
I think that maybe sort of conveys this feeling of uh age .
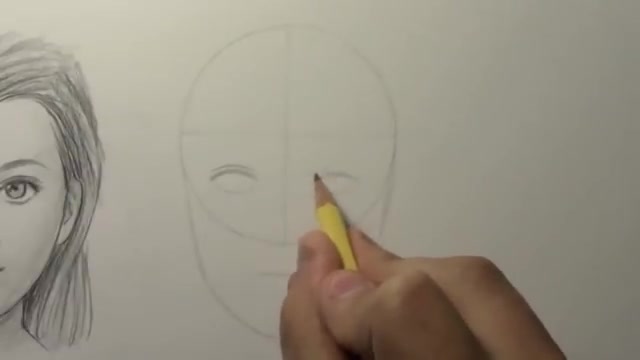
Um you know , some of the stuff , it's like I'm trying to do this realistically at the same time , I'm kind of doing like artists , traditional techniques of making uh someone look older versus um maybe strictly realistic um differences between the two .
I mean , in , in reality , the difference between a teenage face and a say early middle age , uh those differences can be quite subtle and um the artist's job I think is maybe to exaggerate things in a little bit to make it extra clear .
Um So let's go ahead and uh uh do the eyebrows this time , the eyebrows are very close .
I'm finding to that uh horizontal line compared to what we had before .
I think what happens is that the uh the forehead , uh you know , you saw as a baby , the forehead is a very large part of the face .

And as your character gets older , uh the uh forehead increasingly become , becomes proportionally smaller and that's sort of like a signal uh to the viewer that you are drawing a an older character .
Um I'm gonna go ahead and drop in the um irises , of course , uh scientifically they tell you that the eye , the actual eyeball is the one part of the face that does not change at all .
Right .
And that's why babies have a seemingly large eyes .
The , I mean , the head is physically smaller but the actual , uh iris , uh , if I'm not mistaken , is precisely the same size uh over the span of your life .
Um Let's go ahead and draw the nose here .
We're gonna get considerably more definition .
Uh I find that that's one of the key things uh in uh conveying age .
Uh And , you know , based on reality as you get older , your nose gets more defined uh more and more .
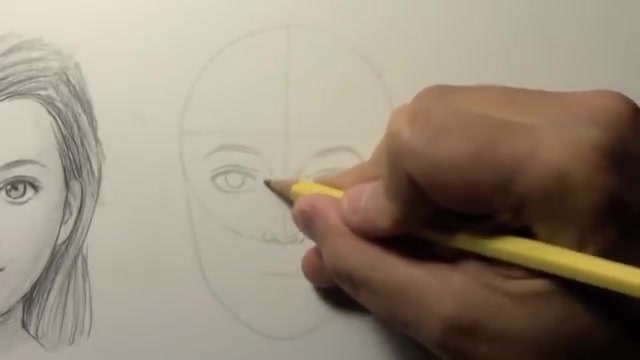
Uh And so the artist , of course , your job is to go ahead and get those lines in there and not be so shy about sort of suggesting the nose , but go ahead and draw it in there .
Um Of course , I'm being a little bit cautious because you wanna make sure you get all these lines in just the right place , get the , the width of the bridge of the nose and I can kind of finalize this stuff later .
Um This 1 may be this lesson here may be a little different from the other two in that some of the key lines that reveal the age um don't really come in until the end of the process .
So I may have to uh sort of zoom through things and then come back to , to show you the what are for me , the two most key lines for making this woman look um middle aged rather than just say in her twenties .
Um But I think you can see a certain angularity coming into the face as we uh make this character look older or try to .
And uh so let's go ahead and do that .
I'm gonna drop in the ears that remains pretty consistent from one age to the other , the location uh of the ears .
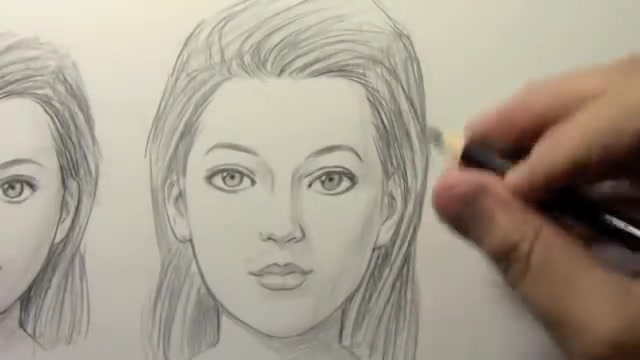
And um let's uh do one final thing , get in that line of the hair coming in again , right around between these two lines here and then , yeah , let me zoom through most of this in time lapse , but I'm really not done with this in terms of showing the age of this character .
I'm gonna come back at the end to show you a couple of key lines uh that will really uh finish it off in terms of showing how old she is .
All right .
So , uh as I promised , we're going to try to uh age this character further .
I would say even at this stage , she looks like she's well under her twenties , uh you know , noticeably older than uh the teenage version that we did before .
But here's uh one of the keys , I think if we define the chin , just a little bit more , I see cartoonists uh doing this a lot , just a , just a hint of definition on the chin can go a long way towards , uh , a aging , your character and , uh , of course , um , wrinkles around the eyes , uh , are going to add some age .
Um , but you don't want to go , you know , extreme with that .
It's easy to get carried away .
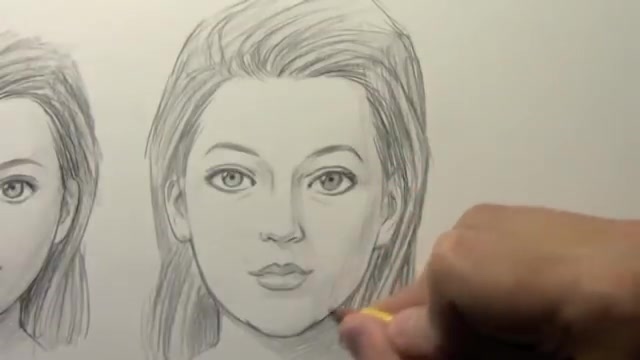
I would say just one or two , slight indications of , uh , wrinkles around the eyes , you know , the , the classic crow's feet , you add just a little bit of that on the sides and uh your character will immediately begin to look more like uh a motherly character , let's say .
Um And uh so yeah , there you go .
There's my advice on how to uh uh well , or , or how to see the differences , I think you would have to say with this video to see the differences between these different age uh groups .
Uh And then maybe in the future , I can do a how to video for each one of these and really take it step by step line by line and show you how to do it .
Well , let's go ahead and pull things back and uh have some final words before I wind this video down .
All right .
Well , there you have it .
My video showing the same character at three different points in her life .
I hope you enjoyed that .
And I wanna tell you quickly about this website life reimagined project dot org .
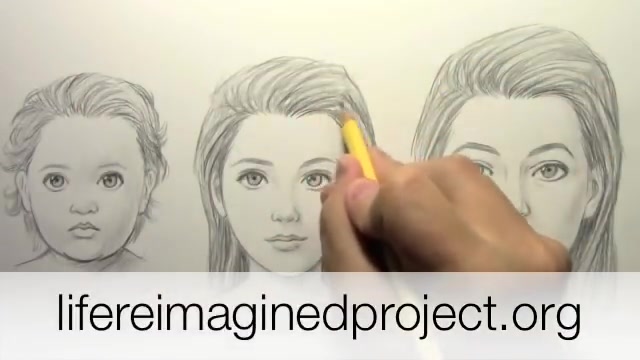
Uh It was put together by the A ARP .
I think it's a really cool idea for a website .
What they're trying to do is uh create a space where mentors can come together with people who are looking for mentors .
And it doesn't have to be just art .
It could be almost any kind of skill that you're looking to acquire .
Uh you know , young people looking for mentors .
Also people more like my age in life , uh They want to acquire a new skill or they want to get to that thing that they had always wanted to , but they never had time for it .
And uh this website may help these people come together and uh and share information .
So uh go ahead and check that out .
You would be among the first people in the world to see it and I'm sure that they would love to get your feedback on it .
Um But for now , I want to wind down my video the way I always do by thanking people who have bought my books , Miky Falls , uh the graphic novel series as well as Brodie's Ghost to this new one , scholastic edition available at book fairs right now .
Very excited about that .
But let's go ahead and lay down the pencil .
As I always do .
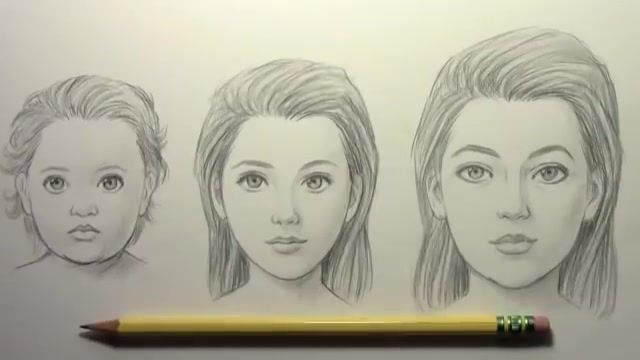
I want to thank you for watching my videos for subscribing , for leaving comments .
I really do appreciate your support .
I hope you enjoyed this video and I'll be back with another one real soon .
Are you looking for a way to reach a wider audience and get more views on your videos?
Our innovative video to text transcribing service can help you do just that.
We provide accurate transcriptions of your videos along with visual content that will help you attract new viewers and keep them engaged. Plus, our data analytics and ad campaign tools can help you monetize your content and maximize your revenue.
Let's partner up and take your video content to the next level!
Contact us today to learn more.